Sunday 27 July 2008

Whole Wheat Bread using a "Wild Yeast" Starter

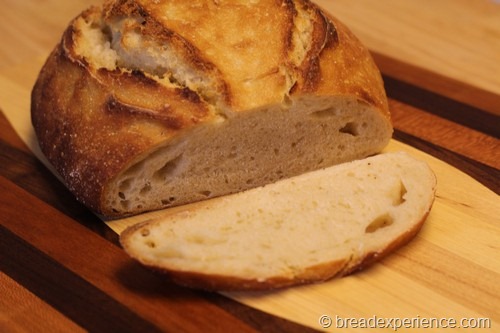
This is a basic whole wheat bread that can be made into many shapes and baked in a variety of molds.

It can be made with either a biga or wild yeast starter. I used this whole wheat starter to give the bread a more complex and slightly sour flavor. I plan to use the loaf for sandwiches. Next time, we'll try a different shape.

To make the final dough, you combine two pre-doughs -- the starter and a soaker. Then add the additional ingredients. The starter is in the refrigerator ready to use. All we need to do now is create the soaker.


Whole Wheat Bread using "Wild Yeast" Starter

From Peter Reinhart's Whole Grain Breads

Makes: 1 large loaf

1st Step: Create the Soaker

  • 1 3/4 cups whole wheat flour (preferably fine grind, or a mix of fine and medium or course)
  • 1/2 teaspoon salt
  • 3/4 cup plus 2 tablespoons milk (scalded and cooled to room temperature - about 70°F/21°C), or soy milk, or rice milk


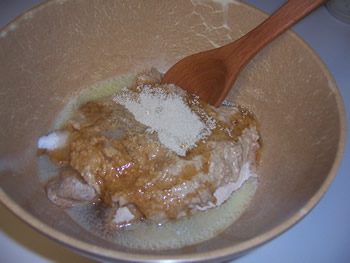
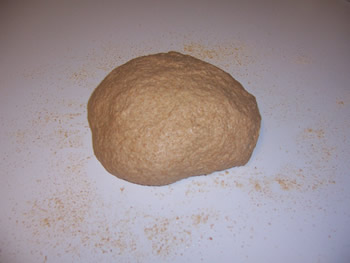
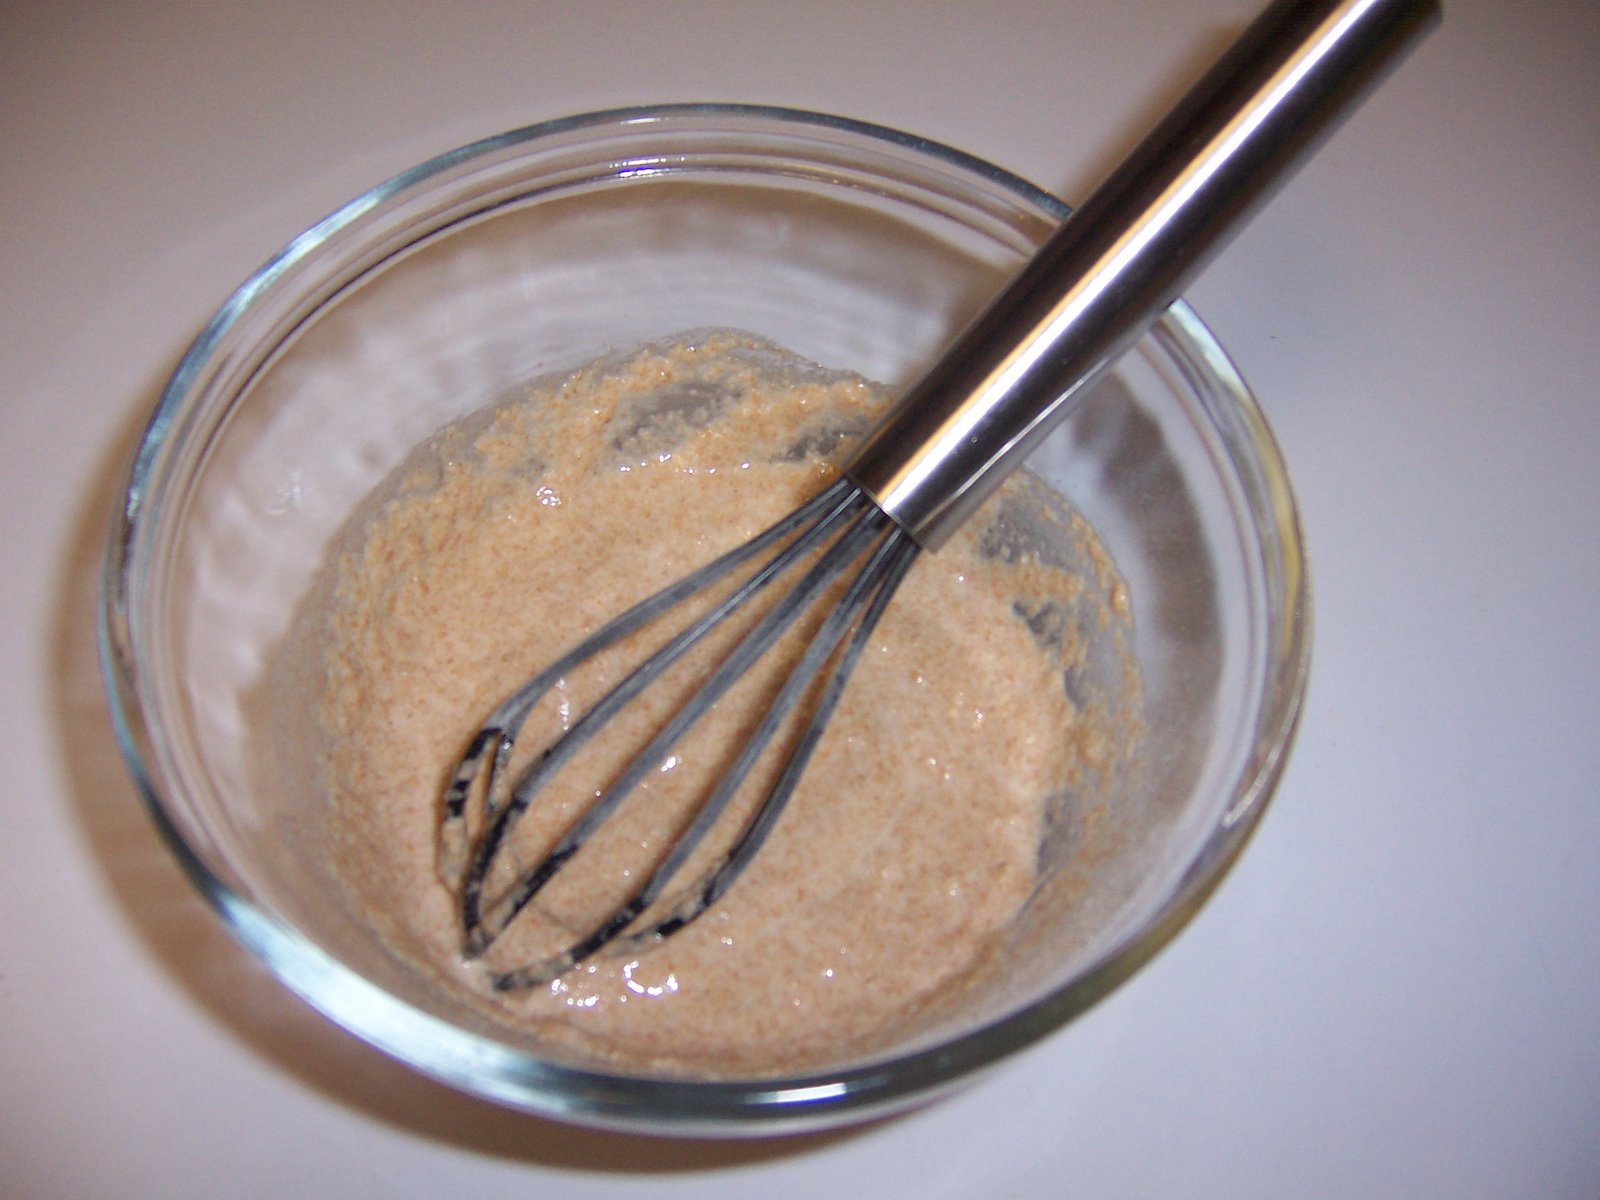
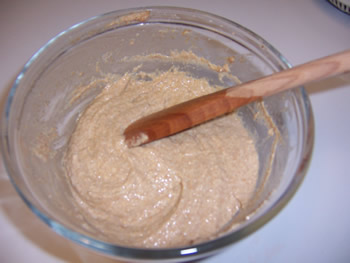
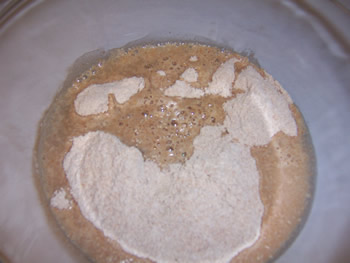
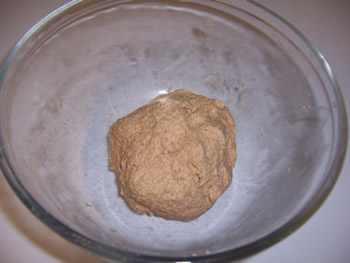
1. Using a large spoon, stir together all of the ingredients for about 1 minute, until all of the flour is hydrated and the ingredients form a ball of dough. If you prefer, you can also make this in a stand mixer with the paddle attachment, mixing on low speed for 1 minute.


Mixing the ingredients for the soaker


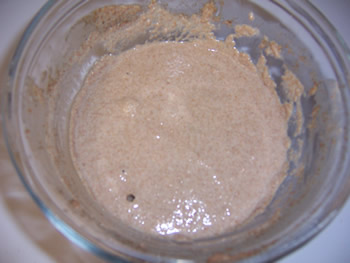
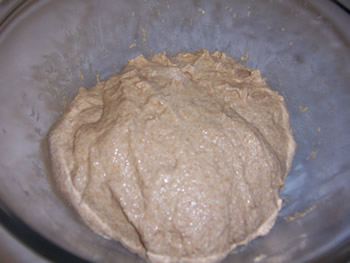
The soaker formed into a ball


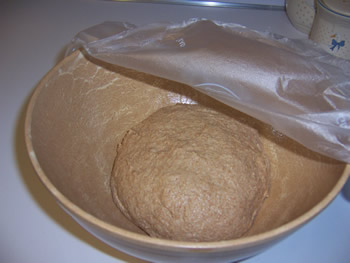
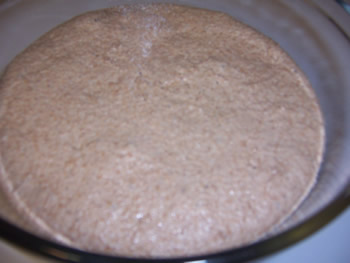
2. Cover the bowl with plastic wrap and leave at room temperature overnight or anywhere between 12 and 24 hours. (If it will be more than 24 hours until you mix the final dough, place the soaker in the refrigerator; it will be good for up to 3 days. Remove it 2 hours before mixing the final dough to take off the chill.)


2nd Step: Make the "wild yeast" starter (from the mother starter)

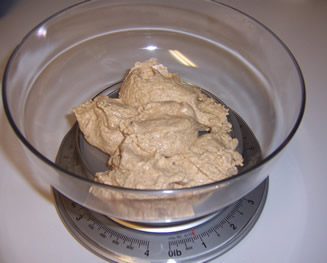
We have a recently refreshed mother starter (the one we finished a few days ago) so we'll just weigh off 14 ounces and use it in the final dough and then rebuild the mother starter.


If you don't have a recently refreshed starter, follow the process outlined below to create a "wild yeast" starter from a piece of the mother starter to create 14 ounces to use in the recipe.


Creating a "Wild Yeast" Starter from a piece of the Mother Starter

  • 5 tablespoons mother starter
  • 1 1/2 cups whole wheat flour, any grind
  • 1/2 cup plus 2 tablespoons filtered or spring water, at room temperature (about 70°F/21°C)

1. Using a large spoon, combine
all of the ingredients together in a bowl to form a ball of dough. You can do this by hand or use a stand mixer with the paddle attachment or dough hook. Using wet hands, knead the dough in the bowl for about 2 minutes to be sure all of the ingredients are evenly distributed and the flour is fully hydrated. The dough should feel very tacky. Let the dough rest for about 5 minutes, then knead it again with wet hands for 1 minute. The dough will become smoother but still be tacky.

2. Transfer the dough to a clean, lightly oiled bowl (oiling the bowl is optional). Cover the bowl loosely with plastic wrap and leave at room temperature for approximately 4 to 6 hours, until the dough is nearly double in size. The dough should have a pleasant aroma similar to apple cider vinegar. If the starter has not doubled or acidified properly, allow it to continue to develop at room temperature. It could take up to 8 hours or even longer, depending on conditions such as the ambient temperature or the strength of the original piece of starter, but 4 to 6 hours is typical.

3. When the starter has fully developed, knead it for a few seconds to degas it, return it to the bowl, cover the bowl tightly with plastic wrap, and refrigerate. The starter will be ready to use anytime, and it will be usable for 3 to 4 days.

3rd Step: Create the final dough

  • Use all of the soaker
  • Use all (14 ounces) of the starter
  • 7 tablespoons whole wheat flour, any grind
  • 5/8 teaspoon salt
  • 2 1/4 teaspoons instant yeast
  • 2 1/4 tablespoons honey or
  • 3 tablespoons sugar or brown sugar
  • 2 tablespoons unsalted butter, melted or vegetable oil
  • extra whole wheat flour for adjustments
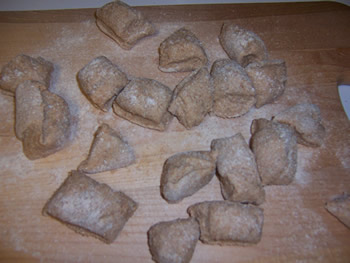

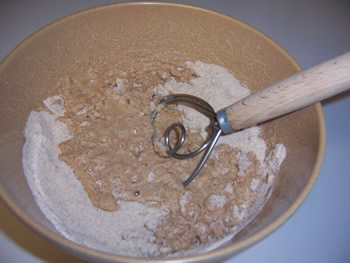
1. Using a metal pastry scraper, chop the soaker and the starter into 12 smaller pieces each (sprinkle some of the extra flour over the pre-doughs to keep the pieces from sticking back to each other).


2. Combine the soaker and starter pieces in a bowl with all of the other ingredients (except the extra flour) and stir vigorously with a mixing spoon or knead with wet hands for about 2 minutes, until all of the ingredients are evenly distributed and integrated into the dough. The dough should be soft and slightly sticky, if not, add some of the extra flour or more water as needed.


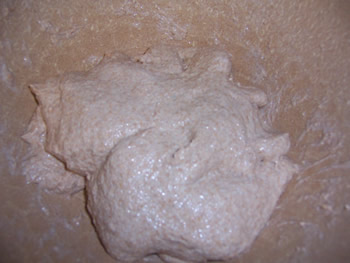
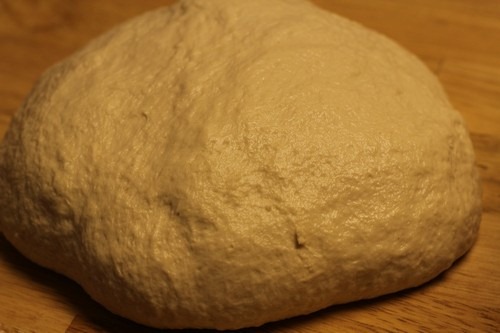
3. Dust your work surface with flour, then roll the dough in the flour to coat. Knead it by hand for 3 to 4 minutes. Incorporate only as much extra flour as needed. The dough should feel soft and tacky but not sticky. If the dough becomes too sticky to knead, dip your hands in a bowl of water (sticky dough will not stick to wet hands) and mist the work surface lightly with water to prevent sticking. Form the dough into a ball and let it rest on the work surface for 5 minutes while you prepare a clean, lightly oiled bowl.


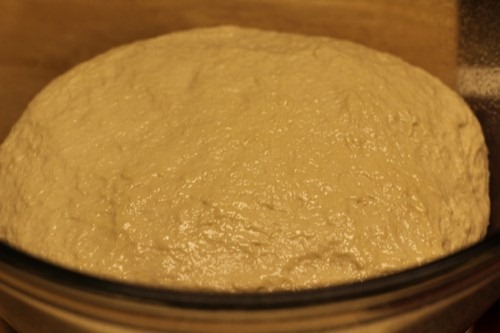
4. Resume kneading the dough by hand for 1 minute. This will strengthen the gluten and allow for any final adjustments with additional flour or water. The dough should have strength and substance when fully kneaded, yet still feel soft, supple, and very tacky. Form the dough into a ball and place it in the prepared bowl, rolling to coat with oil. Cover the bowl with plastic wrap and let the dough rise (ferment) at room temperature for approximately 45 minutes to 1 hour, until it is about 1 1/2 times its original size.


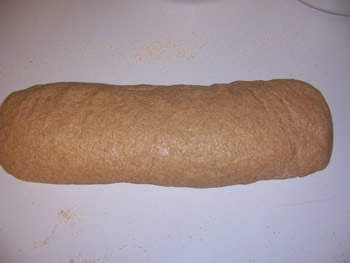
5. Transfer the risen dough to a light floured work surface and form it into a loaf shape.


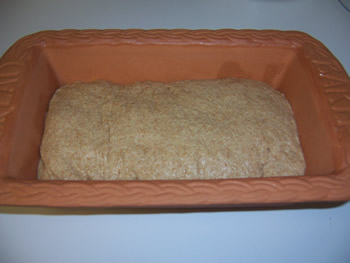
Place the dough in a greased 4 x 8 1/2-inch bread pan. I'm using a clay loaf pan to see how it turns out. In the loaf pan, the dough should rise to about 1 1/2 inches above the rim.


6. Preheat the oven to 425°F* and, when the dough is ready to bake, place it in the oven and lower the temperature to 350°F.

Since I'm using a clay bread pan in a gas oven, I'll need to place the pan in the cold oven and gradually increase the temperature. Otherwise, the clay pan will crack. If you're using an electric oven, you can just put the clay pan in the cold oven and set the temperature. It will gradually increase to the appropriate temperature.


Bake the loaf for 20 minutes and then rotate it 180 degrees and continue baking for another 20 to 30 minutes, until the loaf is a rich, reddish brown on all sides, sounds hollow when thumped on the bottom, and registers at least 195°F in the center of the loaf.

So that the clay pan doesn't crack, you're not supposed to put it on a cold surface when it is hot so I put it on a towel on a bread board.


7. Remove the bread from the pan immediately, transfer to a cooling rack, and cool for at least 1 hour before serving.

This was our first loaf of whole wheat bread using the delayed fermentation method. Wasn't that fun! It tastes good too!


Final Step: Refresh the Mother Starter

Now, it's time to refresh the mother starter so it will be ready the next time we want to bake whole wheat bread. Refer to the process below:

Whenever the mother starter gets low - between 4 days and 2 weeks old - rebuild it by discarding all but 3.5 ounces.

Use the retained portion as a new seed culture and follow the instructions for creating a mother starter in Step 2 of the post on "Making a Whole Wheat "Wild Yeast" Starter".

Happy Baking!
Cathy

Sunday 20 July 2008

Whole Wheat "Wild Yeast" Starter

I’ve been working on a whole wheat sourdough or "wild yeast" starter for use in whole wheat bread. I’m using the recipe from Peter Reinhart's Whole Grain Breads.

You could use a regular sourdough starter and convert it to a whole wheat starter, but I decided to create one from scratch to use as a comparison. I'm having so much fun with this, maybe I’ll try that next time.

There are two steps involved in making a wild yeast starter using whole wheat flour: 1) preparing a seed culture and 2) converting that seed culture into a mother starter.

The seed culture cultivates enough microorganisms to get things moving and is then used to make another starter, the mother starter. The mother starter will be the one you keep in your refrigerator. I plan to add it to my collection of starters. Pretty soon, I'll need another refrigerator for all of my starters.

Creating a Whole Wheat "Wild Yeast" Starter

From Peter Reinhart's Whole Grain Breads

Step 1: Preparing a seed culture
(or The Pineapple Juice Solution according to Peter Reinhart)

Phase 1 (Day 1)

  • 3 1/2 tablespoons whole wheat or whole rye flour, any grind

Note: I grind my own whole wheat so I'm using freshly milled whole wheat flour in this recipe. Learn more about grinding your own wheat.

  • 1/4 cup unsweetened pineapple juice or filtered or spring water, at room temperature (about 70°F/21°C
I didn't have any pineapple juice on hand so I'm creating the starter using spring water.

  • 1/2 teaspoon diastatic malt powder or sprouted wheat flour (optional).
Well, as you can imagine, I didn't have any of this on hand either. So since it's optional, I'm trying it without it. We'll see how it works. I like to keep things simple whenever possible.

In a small bowl, stir together the flour, juice (or water), and malt powder with a spoon or whisk to make a paste (the liquid can be cold or at room temperature -- it doesn't matter). It should be like pancake batter or a thin sponge. Be sure to stir until all the flour is hydrated.

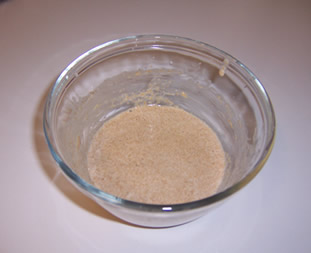
Seed culture at the beginning of Phase 1


Cover loosely with plastic wrap and leave at room temperature for approximately 48 hours. Two or three times a day, aerate by stirring for 1 minute with a wet spoon or whisk (the dough won't stick as easily to a wet tool). There will be little or no sign of fermentation activity during the first 24 hours; bubbles may begin to appear, however, within the 48-hour time frame. If not, 2 days after the initial mixing proceed to Phase 2 (Day 3) anyway.


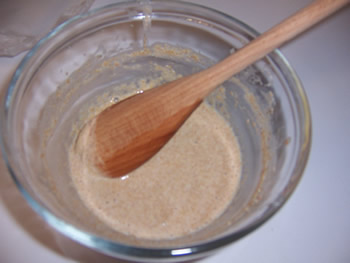
Seed culture resting during Phase 1


Phase 2 (Day 3)

  • 2 scant tablespoons whole wheat or whole rye flour
  • 2 tablespoons unsweetened pineapple juice or filtered or spring water, at room temperature
  • Use all of the Phase 1 sponge

Add the new ingredients to the Phase 1 sponge and mix with a spoon or whisk to distribute and fully hydrate the new flour. Cover loosely with plastic wrap and leave at room temperature for 24 to 48 hours. Stir with a wet spoon or whisk to aerate at least two or three times a day, as before. There should be signs of fermentation (bubbling and growth) during this period. When the dough becomes very bubbly or foamy or at the end of 48 hours, whichever comes first, move on to Phase 3.


Seed culture Phase 2


Phase 3 (Day 4 or 5)

  • 5 1/4 tablespoons whole wheat or whole rye flour
  • 3 tablespoons filtered or spring water, at room temperature
  • Use all of the Phase 2 sponge

Add the new ingredients to the Phase 2 sponge and stir with a spoon or whisk as before. The sponge will be thicker as the percentage of water is reduced, but it will still be very wet, spongy, and sticky. Cover loosely with plastic wrap and leave a room temperature for 24 to 48 hours, stirring with a wet spoon or whisk to aerate at least two or three times each day, as on the previous days. Within 48 hours it should be very bubbly and expanded. If not, wait another day or two, aerating as before, until it becomes active. (If the sponge was active and bubbly prior to this phase, it could become active and bubbly in less than 24 hours. If so, proceed to the next phase.)


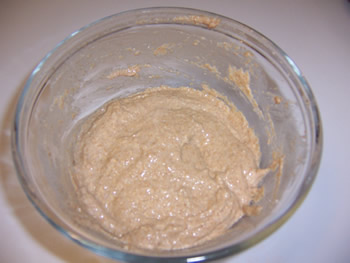
Seed culture beginning Phase 3


Phase 3 took awhile. My seed culture didn't seem to be very active so I just let it sit on my counter another day and aerated it several times each day. It finally started bubbling on day 7.


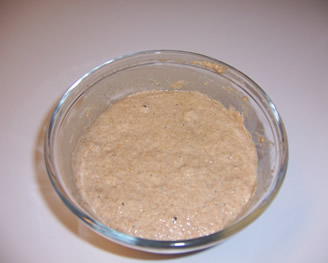
Bubbly seed culture during Phase 3


Phase 4 (Day 5 or Later)

  • 7 tablespoons whole wheat or whole rye flour
  • 3 tablespoons filtered or spring water, at room temperature
  • Use half of the Phase 3 sponge.

Discard or give away half of the Phase 3 sponge. Add the new ingredients to the other half and mix as before. Cover the bowl loosely and leave at room temperature until the sponge becomes bubbly and foamy. It should swell and nearly double in size, but it will fall when jostled due to its high hydration. This can take anywhere from 4 to 24 hours. If there is little sign of fermentation after 24 hours, continue to aerate as before and leave at room temperature until it becomes very active.

Seed culture at the beginning of Phase 4


The seed culture has been on my counter since early afternoon. It looks good. It swelled like it was supposed to.

Bubbly seed culture right before using it in the mother starter


Now, it's time to move on to the next step, making the mother starter.

Note:
If you're not quite ready to make the mother starter, you can cover and refrigerate the seed culture for up to 2 days before making the mother starter.


Step 2: Creating the Mother Starter

  • 2 1/3 cups whole wheat or whole rye flour, any grind
  • 1 cup filtered or spring water (probably more for whole rye flour), at room temperature
  • 2/3 cup (about half) of the seed culture


Combine all of the ingredients in a bowl or in the bowl of a stand mixer with the paddle attachment. Mix with a large spoon or your hands or on slow speed for about 1 minute, until the ingredients form a ball of slightly sticky dough. (I like to use a Danish whisk for this part. It works really well for mixing bread dough.)


Combining ingredients for mother starter


Let the dough rest for 5 minutes, then knead by hand for 1 minute (in the bowl, using wet hands), or until the dough is fairly smooth and all of the ingredients are evenly distributed. The starter need not be developed as much as a final dough (don't worry about developing the gluten).


Transfer the starter to a clean bowl or container large enough to hold it once doubled in size. Cover loosely with plastic wrap and leave at room temperature for 4 to 8 hours, until it doubles in size; the length of time will depend on the potency of the seed culture and the ambient temperature.


Degas the mother starter by kneading it for a few seconds, then form it back into a ball, cover tightly (to prevent absorption of refrigerator odors or moisture), and refrigerate. After a few hours, vent any carbon dioxide buildup by opening the lid briefly, then reseal it.


Mother starter doubled in size after 5 hours


Mother starter after kneading dough for a few seconds


Mother starter ready to go in refrigerator


The mother starter is ready to use now or for up to 3 days.

For the next phase, we'll use a piece of the mother starter to create a "wild yeast" starter and use it in whole wheat bread. 

Happy Baking!
Cathy


Sunday 13 July 2008

Sourdough Bread Machine Bread

This post focuses on making sourdough bread in a bread machine. 

I used the starter I created from a recipe from Boudin Bakery in San Francisco. It took me awhile to get the flavor of the starter right. I had to throw it away a couple of weeks after I started it because it turned pink. I started it again in September and it's been just fine ever since.

Sourdough Starter Recipe 

From Boudin Bakery http://www.exploratorium.edu/cooking/bread/recipe-sourdough.html

Ingredients

  • 1 small handful (1/4 to 1/3 cup) white (all-purpose) flour
  • 1 or 2 tablespoons of water
Tools & equipment
  • a small bowl
  • a towel, napkin, or other piece of cloth (not terry)
  • a large spoon

Directions:

  1. In a mound of flour, make a small well and add the water.
  2. Slowly mix the flour and the water, bringing more flour into the center of the well. The mixture will gradually transform from a paste into a small piece of dough.
  3. Knead this small piece of dough with your fingers for about 5-8 minutes, until it becomes springy.
  4. Place the dough in a small bowl, cover it with a damp towel, and let it sit in a warm spot for 2 or 3 days.
  5. When it's ready, the dough will be moist, wrinkled, and crusty. If you pull off a piece of the crust, you'll find tiny bubbles and smell a sweet aroma.
  6. Throw away any hardened crust. "Refresh" the remaining piece by mixing it with twice the original amount of flour and enough water to make a firm dough. Set aside as before.
  7. After 1 or 2 days the starter will have a new, fresh look. Remove any dried dough and mix with about 1 cup of flour.
  8. Once again, cover the bowl with a damp cloth and leave it in a warm place for another 18-12 hours.
  9. When the starter is ready, it will appear fully risen, and a small indentation made with a finger won't spring back.

Now the starter is ready to be used in virtually any sourdough recipe.

Remember to save a small piece of the starter: You can put it in the refrigerator for several days, then refresh it again as above and use it to make another loaf. A good starter will serve you for years to come!


Now, let's get started making the sourdough bread...

Step 1:
Up to 12 hours before beginning the recipe, stir the starter and discard 1 cup. Feed the remaining starter with 1/2 cup water and 1 cup flour. Let it sit for 4 to 12 hours before using in a recipe.

I completed the first step last night so the starter would be ready this morning. The starter has been resting on my counter all night. You get better flavor if you let it sit for a long time.

Step 2: Use however much "fed starter" the recipe calls for, and feed the remainder with 1/2 cup water and 1 cup flour. Let this remaining starter sit at room temperature for 2 to 4 hours, until bubbly, then cover and refrigerate.

  • Tip: If you're not planning to use your starter for over a week, take it out and feed it once a week with 1/2 cup water and 1 cup flour. Start by discarding (or using) 1 cup of the starter. After mixing in more flour and water, you can return the starter to the refrigerator without waiting for it to get bubbly first. (I usually let it sit on the counter for a couple of hours even if I plan on returning it to the refrigerator because it gives it better flavor for the next batch of bread).

Look for more tips on maintaining a sourdough starter.


Now we're ready to make some basic sourdough bread in our bread machine.

I'm using a
basic sourdough bread recipe courtesy of Fleischmann Yeast. It is listed below. This is the first time I've made this particular recipe so we'll see how it goes. They also have a sourdough starter recipe you can use if you like, but I'm using the "wild starter" I created without the use of commercial yeast.

Basic Sourdough Bread (with homemade starter)*


Ingredients:

1-Pound Loaf
  • 3/4 cup Sourdough Starter
  • 1/4 cup water
  • 1 tablespoon butter or margarine
  • 3/4 teaspoon salt
  • 2 cups bread flour
  • 2 teaspoons sugar
  • 1-1/2 teaspoons bread machine yeast

1-1/2 Pound Loaf
  • 1-1/4 cups Sourdough Starter
  • 1/3 cup water
  • 1 tablespoon butter or margarine
  • 1 teaspoon salt
  • 3 cups bread flour
  • 1 tablespoon sugar
  • 2 teaspoons bread machine yeast


*Note: This version makes a mild sourdough bread. I like the bread machine sourdough that way because I use it for sandwich bread. If you prefer a more sour flavor, do the following before you mix the ingredients in the machine:

For the sourest Sourdough:

In a medium bowl, combine the water, starter, and half the flour. Cover and let the mixture stand for 24 hours until very sour and bubbly. Then combine the mixture with the remaining ingredients in the bread pan, use the recommended cycle (listed below) and press start.

Directions:
Use the 1-pound recipe if your machine pan holds 10 cups or less of water. Add ingredients to bread machine pan in the order suggested by manufacturer.
(If dough is too dry or stiff or too soft or slack, adjust dough consistency - see tips below.)

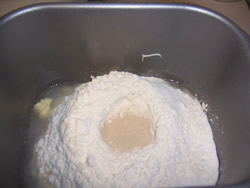
I used the recipe for the 1-1/2 pound loaf since my bread machine can handle that capacity. Here are the ingredients in the pan in the appropriate order for my bread machine.


I made well in the center for the yeast so it doesn't make contact with the liquid ingredients.


Recommended cycle:
Basic/white bread cycle; medium/normal color setting. Timed-bake feature can be used.

Adjusting Dough Consistency: After mixing for a few minutes, the ingredients should turn into a smooth ball around the kneading blade. If the dough appears too stiff or too soft, add more liquid or flour in 1 teaspoon increments, until the proper consistency is reached. Do not add more than 3 to 4 teaspoons liquid or flour. The machine can not compensate for wide variations and may not bake the larger amount of dough thoroughly.
 

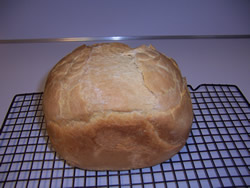
The bread rising period is a little longer in this bread machine than other models I've used. So the bread starts cooking before the machine is finished processing the dough. That's why the crust looks a little funny.

I've been looking for a good sandwich bread to make in the bread machine. This one is easy and doesn't take much prep time.  It also tastes really good with tuna salad.

This bread actually tastes more sour the next day so unless you're in a big hurry to eat it, let it rest in a bread bag on the counter overnight. If you want a more sour flavor, then follow the directions above for the sourest of sourdoughs.

Happy Baking!
Cathy

Sunday 6 July 2008

Making Sourdough Breads

Making Sourdough Breads revisited on 3/7/2012

I revisited this bread again last night.  I used the same recipe and two different starters, but this time, I used a slightly different process. I’ve edited this post with the revised process and updated photos.

And so I began the process of making sourdough bread. It takes anywhere from 10 to 22 hours from start to finish depending on how long you let the sponge and the dough work, but it is definitely worth the time and effort involved. You just have to plan ahead to fit it in your schedule.

sourdough_bread068


I keep my starters in the refrigerator and feed them periodically - about every two weeks unless I plan to make bread more often. I’ve had several starters over the past few years.  My first starter was a descendant of one that began its life over 250 years ago.  I’ve since let that one go preferring instead to use my own creations.

I’ve created several starters from scratch. I created my first starter using the formula from Boudin Bakery.  I still have that one and used it to make two of the loaves in this updated post.  More recently, I created an Apple Starter which I used to make the other two loaves featured in this post.

I can't really taste the difference in the two starters, however, the texture of the starters is different. The first one is more of a stiff levain and the 2nd one would be considered a liquid levain.  I like to keep them both alive and use them in my sourdough bread. They're like little pets in my refrigerator.

Begin the process by feeding your sourdough starter

Don’t have a sourdough starter? Try one of these starter recipes.

Feeding a stiff levain, (starter from Boudin Bakery) to use in this sourdough bread.

  • Up to 12 hours before beginning the recipe, stir the starter and discard* 1 cup.
  • Feed the remaining starter with 1/2 cup water and 1 cup flour.
  • Let it sit for 4 to 12 hours before using in bread.

Feeding a liquid levain (Apple Starter) to use in this sourdough bread.

  • Up to 12 hours before beginning the recipe, stir the starter and discard* 125g. 
  • Feed the remaining starter with 125g flour and 125g water or a 50/50 mix. (I use all-purpose flour and it works out well.)
  • Let it sit for 4 to 12 hours before using in bread.

*You can use the cup of starter instead of discarding it if you like, you'll just need to feed it and follow the instructions for baking additional loaves. I tried this before and ended up with starters all over the place, and I was exhausted by the time I finished baking the bread. I think I made six or eight loaves one weekend. I wouldn't recommend this because even though you're not wasting the starter, you end up using more flour not to mention energy. I had sourdough bread in my freezer for months. My family didn't mind though.

I started the process last night so the starter would be ready this morning. The starter has been resting on my counter all night. You get better flavor if you let it sit for a long time.

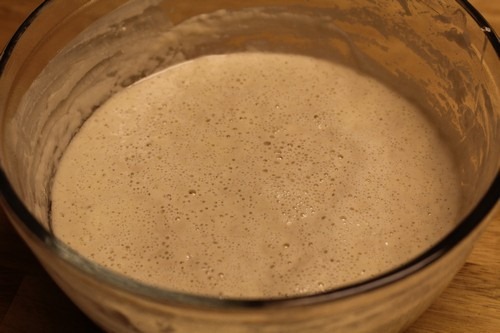
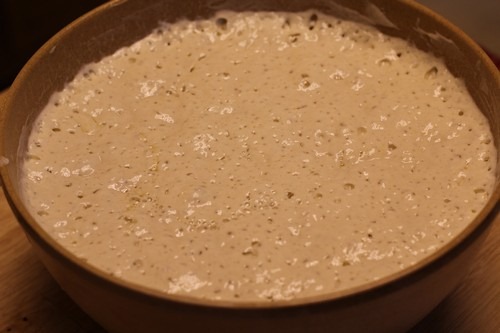
Here's what the starter looks like at this point. See how bubbly it is!

 
sourdough_bread004


Use the amount of "fed starter" the recipe calls for (below), and feed the remaining starter per the instructions above, depending on which starter you are using. Let the remaining starter sit at room temperature for 2 to 4 hours, until bubbly, then cover and refrigerate.


  • Tip: If you're not planning to use your starter for over a week, take it out and feed it once a week. Start by discarding (or using) 1 cup of the starter. After mixing in more flour and water, you can return the starter to the refrigerator without waiting for it to get bubbly first. (I usually let it sit on the counter for a couple of hours even if I plan on returning it to the refrigerator because it gives it better flavor for the next batch of bread).


For more tips on maintaining a sourdough starter, check out Creating a Sourdough Starter.


Classic Sourdough Bread

sourdough_bread049

Makes: 2 Loaves

Source: Courtesy of King Arthur Flour.

I've used other recipes to make sourdough bread, but I like this one.  It’s really easy!

Ingredients:

  • 1 cup (9 ounces) "fed" sourdough starter
  • 1 1/2 cups (12 ounces) lukewarm water
  • 5 to 6 cups (21 1/4 to 25 1/2 ounces) All-purpose flour
  • 1 tablespoon salt
  • 1 tablespoon sugar (optional)
  • cornmeal to sprinkle on pans


Directions:

Step 1: Making the Sponge

Pour the cup of starter into a large mixing bowl. Add the warm water and about 3 cups flour. Beat vigorously. Cover this sponge with plastic wrap and put it aside to work. This period can be very flexible, but allow at least 2 hours and up to 8 hours. A longer period (at a lower temperature) will result in a more sour flavor. 

 
Here is what the sponge looks like after it's been working for 8 hours.


sourdough_bread006


Step 2: Mixing and Kneading the Dough

After the dough has bubbled and expanded, remove the plastic wrap. Blend in the salt, sugar, and remaining 2 cups of flour. Mix until the dough comes together.

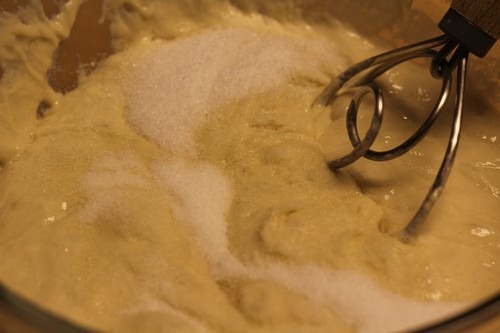
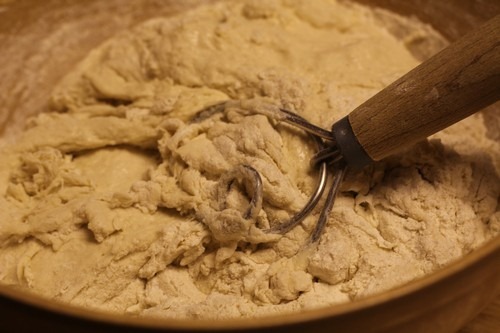
I like to use a Danish whisk for this part. It makes mixing the dough a lot easier.

Add only enough extra flour to keep the dough from sticking.

sourdough_bread008 sourdough_bread011

  • Tip: Once you've mixed the ingredients and the dough comes together, it's best to let the dough rest for about 15 minutes (this is called autolyse). When you let the dough rest during the kneading process, you use less flour overall.

Knead, using your hands, an electric mixer, or a bread machine set on the dough cycle, until the dough is smooth and elastic.

sourdough_bread013


Step 3: Bulk Fermentation

Place the dough in the bowl, cover, and let it rise until doubled, 1 to 2 hours.

sourdough_bread015

Step 4: Shaping the Loaves

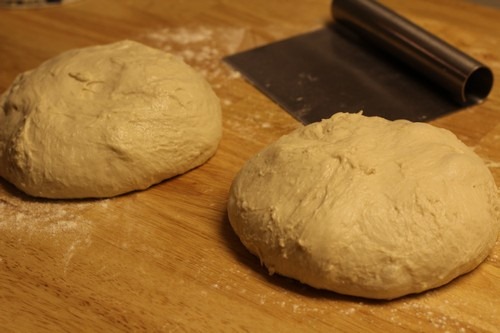
Divide the dough in half. Shape each piece into a round and let rest seam-side up on the counter for 10 minutes.

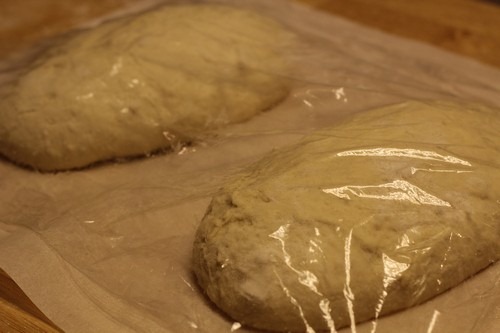
Shape each round into an oval loaf, and place on a lightly greased, cornmeal-sprinkled baking sheet. Cover, and let rise until doubled (this can take up to 2 hours).

sourdough_bread019 sourdough_bread024


Step 5: Prepare the Oven for Hearth Baking:

Prepare the oven for hearth baking by placing a baking stone on the middle rack of the oven and a steam pan underneath. Then preheat the oven to 450 degrees F.


Step 6: Scoring the Loaves

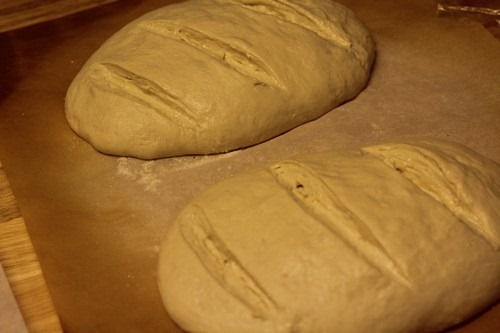
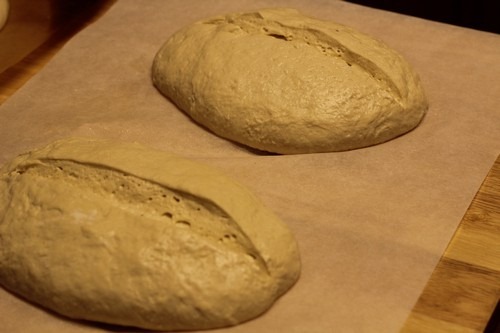
Remove the plastic wrap, slash the tops, I scored the first two loaves with 3 diagonal (well sort of) slashes.

I scored the other two loaves with one long slash down the middle.


sourdough_bread027 sourdough_bread029


Step 7: Baking the Loaves:

Once the oven is preheated, slide the breads (on the parchment paper) directly onto the preheated baking stone and pour 1 cup of water in the steam pan. After 30 seconds, open the door, spray the walls with water, and close the door. Repeat twice more at 30-second intervals.

Bake the bread for 20 to 25 minutes.  Check the breads during the bake and rotate them 180 degrees for even baking if necessary. Continue baking until the breads are golden brown and sound hollow when tapped on the bottom.


Step 8: Cooling and Slicing the Loaves:

Remove the loaves to a wire rack to cool completely (30 minutes to 1 hour) before slicing and serving.

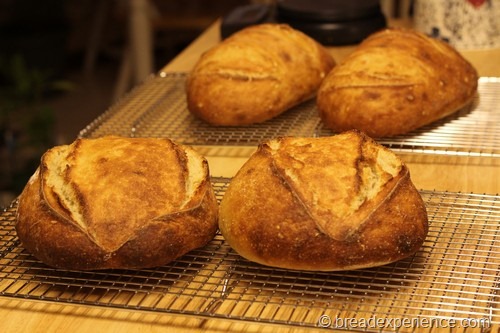
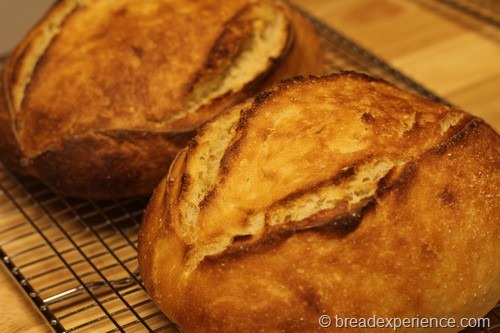
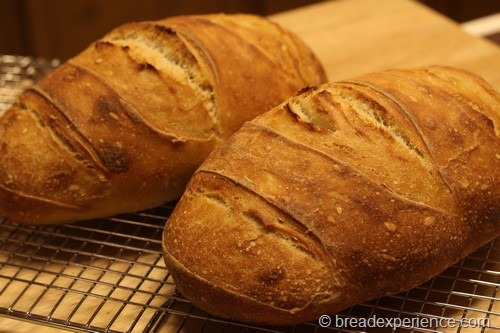
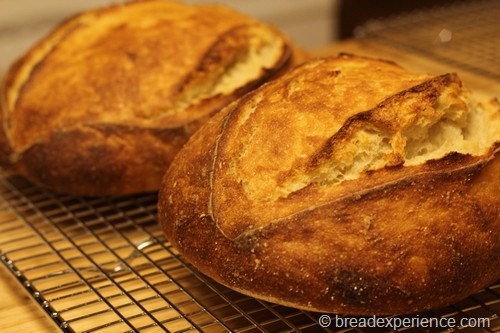
These two loaves were made using the apple starter.

sourdough_bread045


These two loaves were made with my original sourdough starter

sourdough_bread055


I liked both of the loaves.  Here is a shot of the crumb.  This bread is really tasty. It’s chewy and sour, but not too sour. 

making-sourdough-bread0001


Happy Baking!

Cathy